On this page
The environment the new step drivesThe lifecycle, step by stepWhat you won't find in this walkthroughWalkthrough
This PR has no screen of its own — it doesn't add a button, a page, or a form anywhere in Dentolize. So instead of a normal product tour, this page walks through what the new automation does, using real screens from the PR's own live sandbox (ci-sandbox-ui-screenshot-tour.sandbox.anastawfik.com) to ground what "screenshot the screens a PR changes" actually means in practice.
The environment the new step drives
Every open PR that touches packages/clinic-web/ or packages/clinic-mobile/ already gets a live, disposable preview environment — a full Dentolize sandbox with a seeded demo clinic. That's not new; it's what the rest of sandbox.yml has done for a while. What's new in this PR is a step that points a browser-driving AI agent at that same environment.
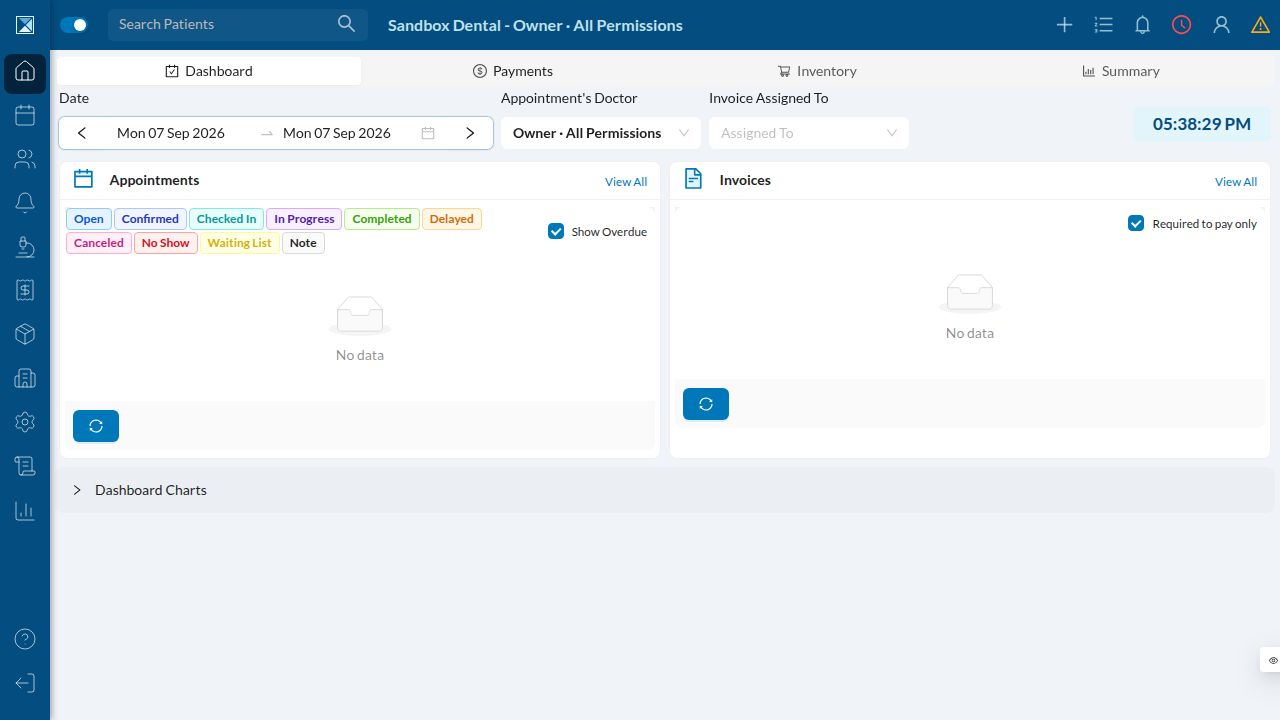
For example, logging into the sandbox with the seed roster (owner / Sandbox Dental) lands on the clinic dashboard:
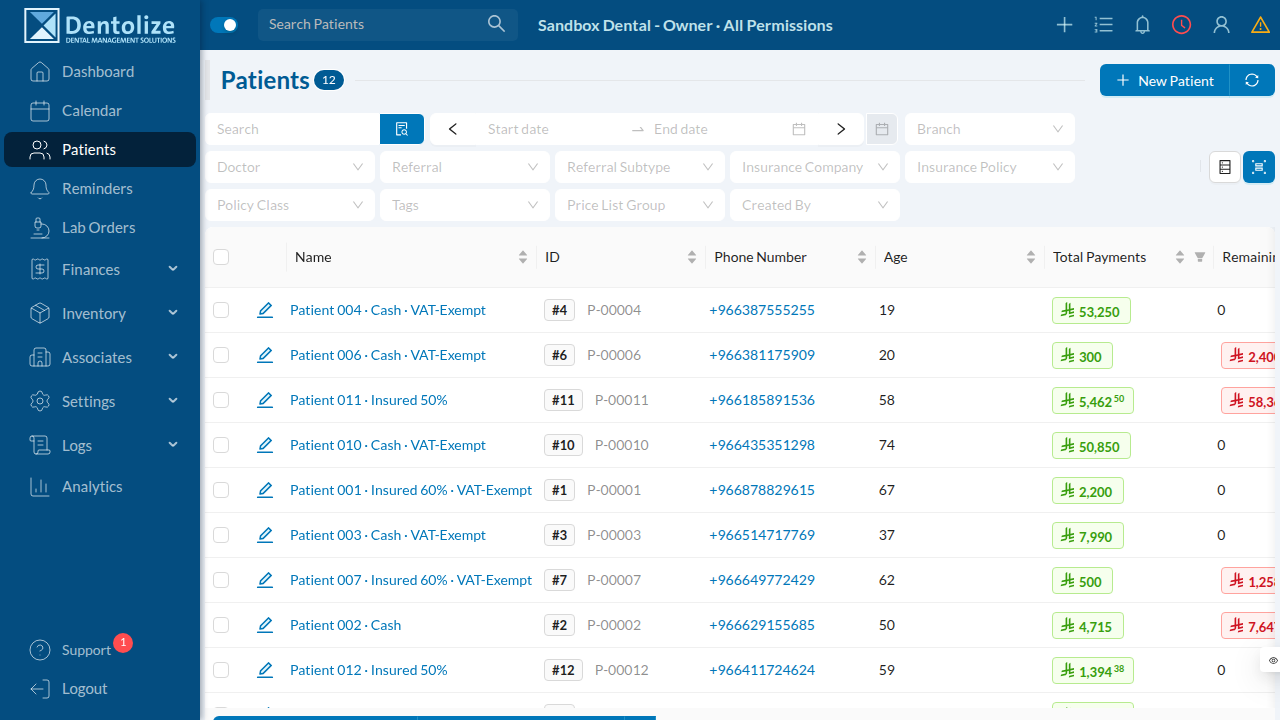
Navigating to Patients shows the patient list screen:
And Calendar shows the appointment scheduling grid:
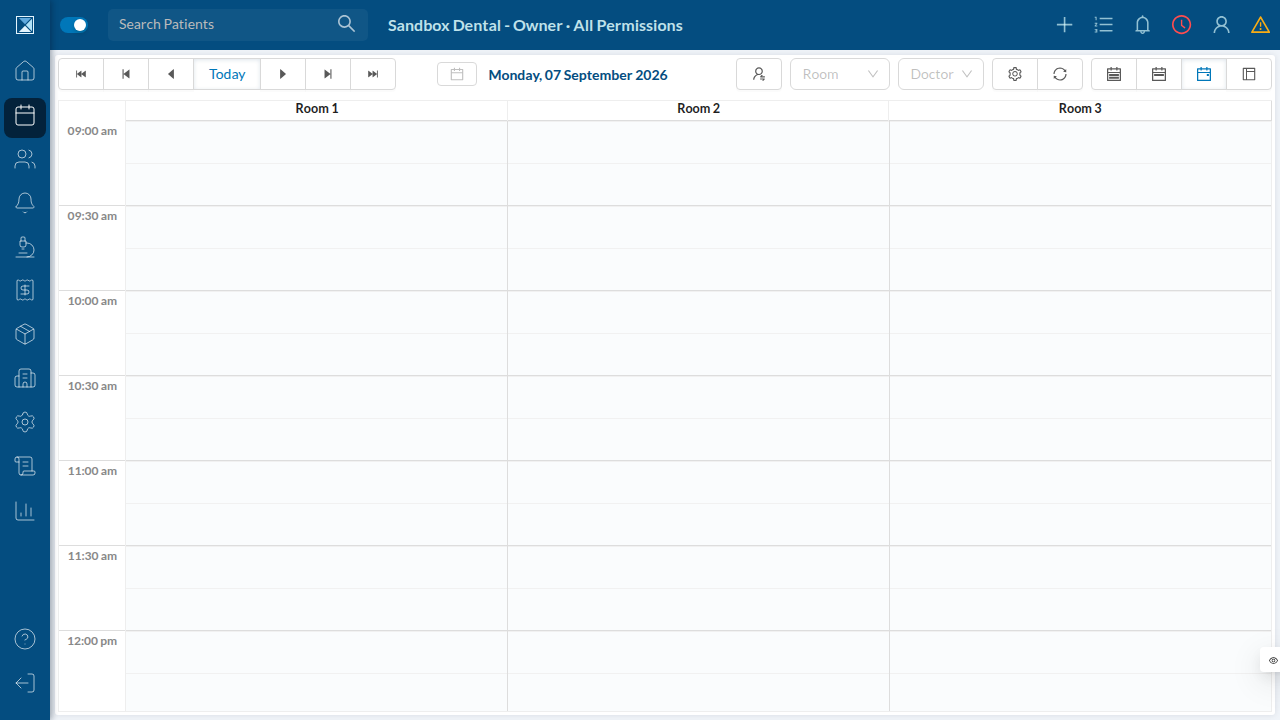
These three are ordinary Dentolize screens, captured here to show what kind of screen the new tool is built to photograph — a PR that changed, say, the patient list's filters would (per the PR description) get a screenshot that looks like the middle image above, attached automatically to its own PR. No screenshot in this documentation was produced by the new tool itself — the tool's output is a GitHub PR comment, and the tool's implementation lives outside this repository (see Feature breakdown), so it can't be exercised or captured from here.
The lifecycle, step by step
- A PR opens or gets a new commit touching
clinic-webor
clinic-mobile. The existing deploy job in sandbox.yml runs as normal: it deploys a fresh sandbox like the one above and posts the "🚀 Sandbox deployed" comment with login credentials.
- The new step fires, `UI screenshot tour (detached, AI-gated on UI
changes). It shells out to /opt/homelab/sandbox/bin/sandbox-shots and detaches — the workflow step returns immediately (|| true` means it never fails the job), and whatever happens next happens in the background.
- Cheap gate. Per the PR description,
sandbox-shotsfirst checks the
diff. If it doesn't touch packages/clinic-web/ or packages/clinic-mobile/, it exits right there — no AI agent, no spend, no comment.
- AI agent run. If UI did change, a headless Claude Code agent (using
Playwright MCP, in the existing sandbox-qa-agent image) reads the diff, picks which screens are worth showing, logs into the sandbox above with a seed-roster user, navigates to those screens, and takes screenshots — the same mechanics used to capture the three screens on this page.
- Publish + comment. The screenshots are published to
https://<slug>-shots.docs.anastawfik.com/ and embedded by URL in a PR comment titled 📸 UI changes. On the next push, the same comment is updated in place rather than a new one being posted.
What you won't find in this walkthrough
A screenshot of the actual "📸 UI changes" PR comment gallery — because producing one honestly would require running the real sandbox-shots orchestrator against a GitHub pull request, and that orchestrator's code isn't in this repository to run or verify. See Feature breakdown for exactly what is and isn't verifiable from /work/repo.